Let's Dive into the RAG Workflow!
Let us understand the workflow of RAG with a real life example.
Let’s suppose you have organised a birthday party and you have asked your friends to send their favourite song so that you can build a playlist for the party.
Your friends send you their favourite song. You collected them in them in one folder (e.g., USB/drive). During the party one of your friend demands to “Play that Hindi song by Arijit Singh!”. Then you search the song from folder to play.
This is exactly what RAG (Retrieval-Augmented Generation) systems do under the hood when generating intelligent responses using external knowledge!
The process of getting the information & putting them in a storage system (like a database or file system) is data ingestion or data indexing.
The process of searching and fetching information from a storage system (like a database or file system) when you need it is data retrieval
Setting Up the Project
We’re going to build this entire setup of RAG using Node.js and Express.
Open up VS Code and follow along:
1. Initialize a Node Project
Open your terminal and run:
npm init -y
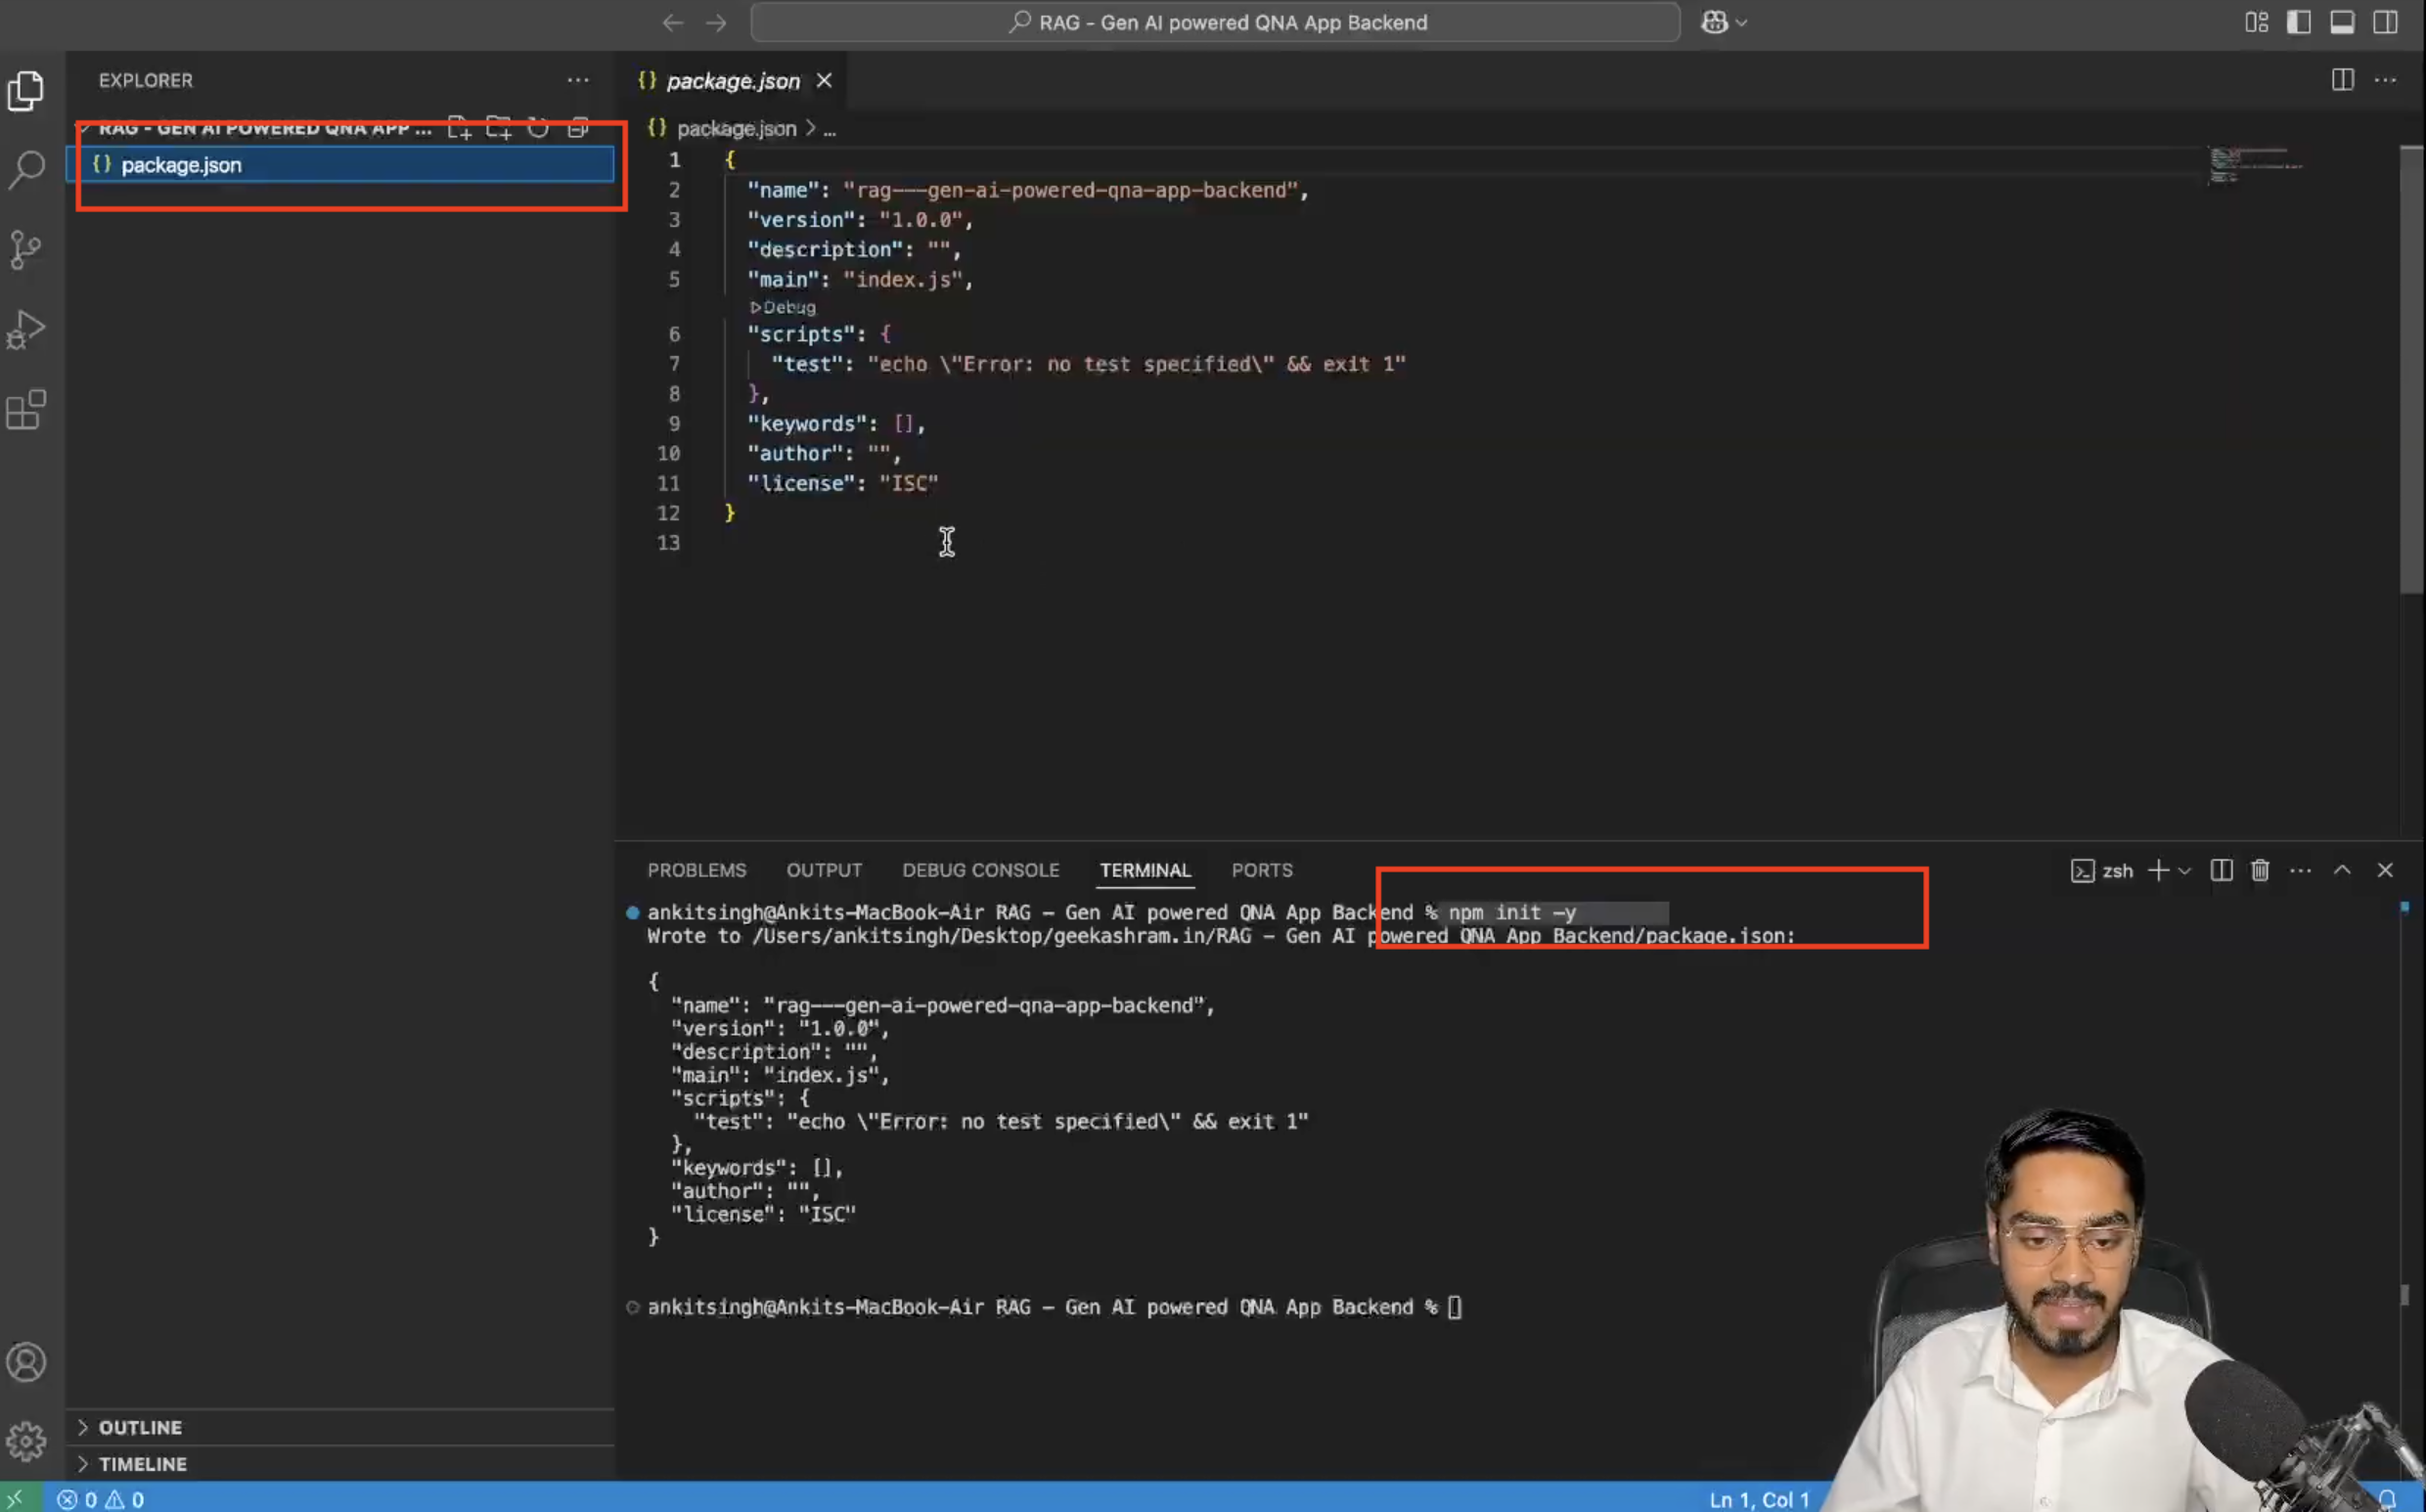
This will create a package.json file that holds all your project configurations.
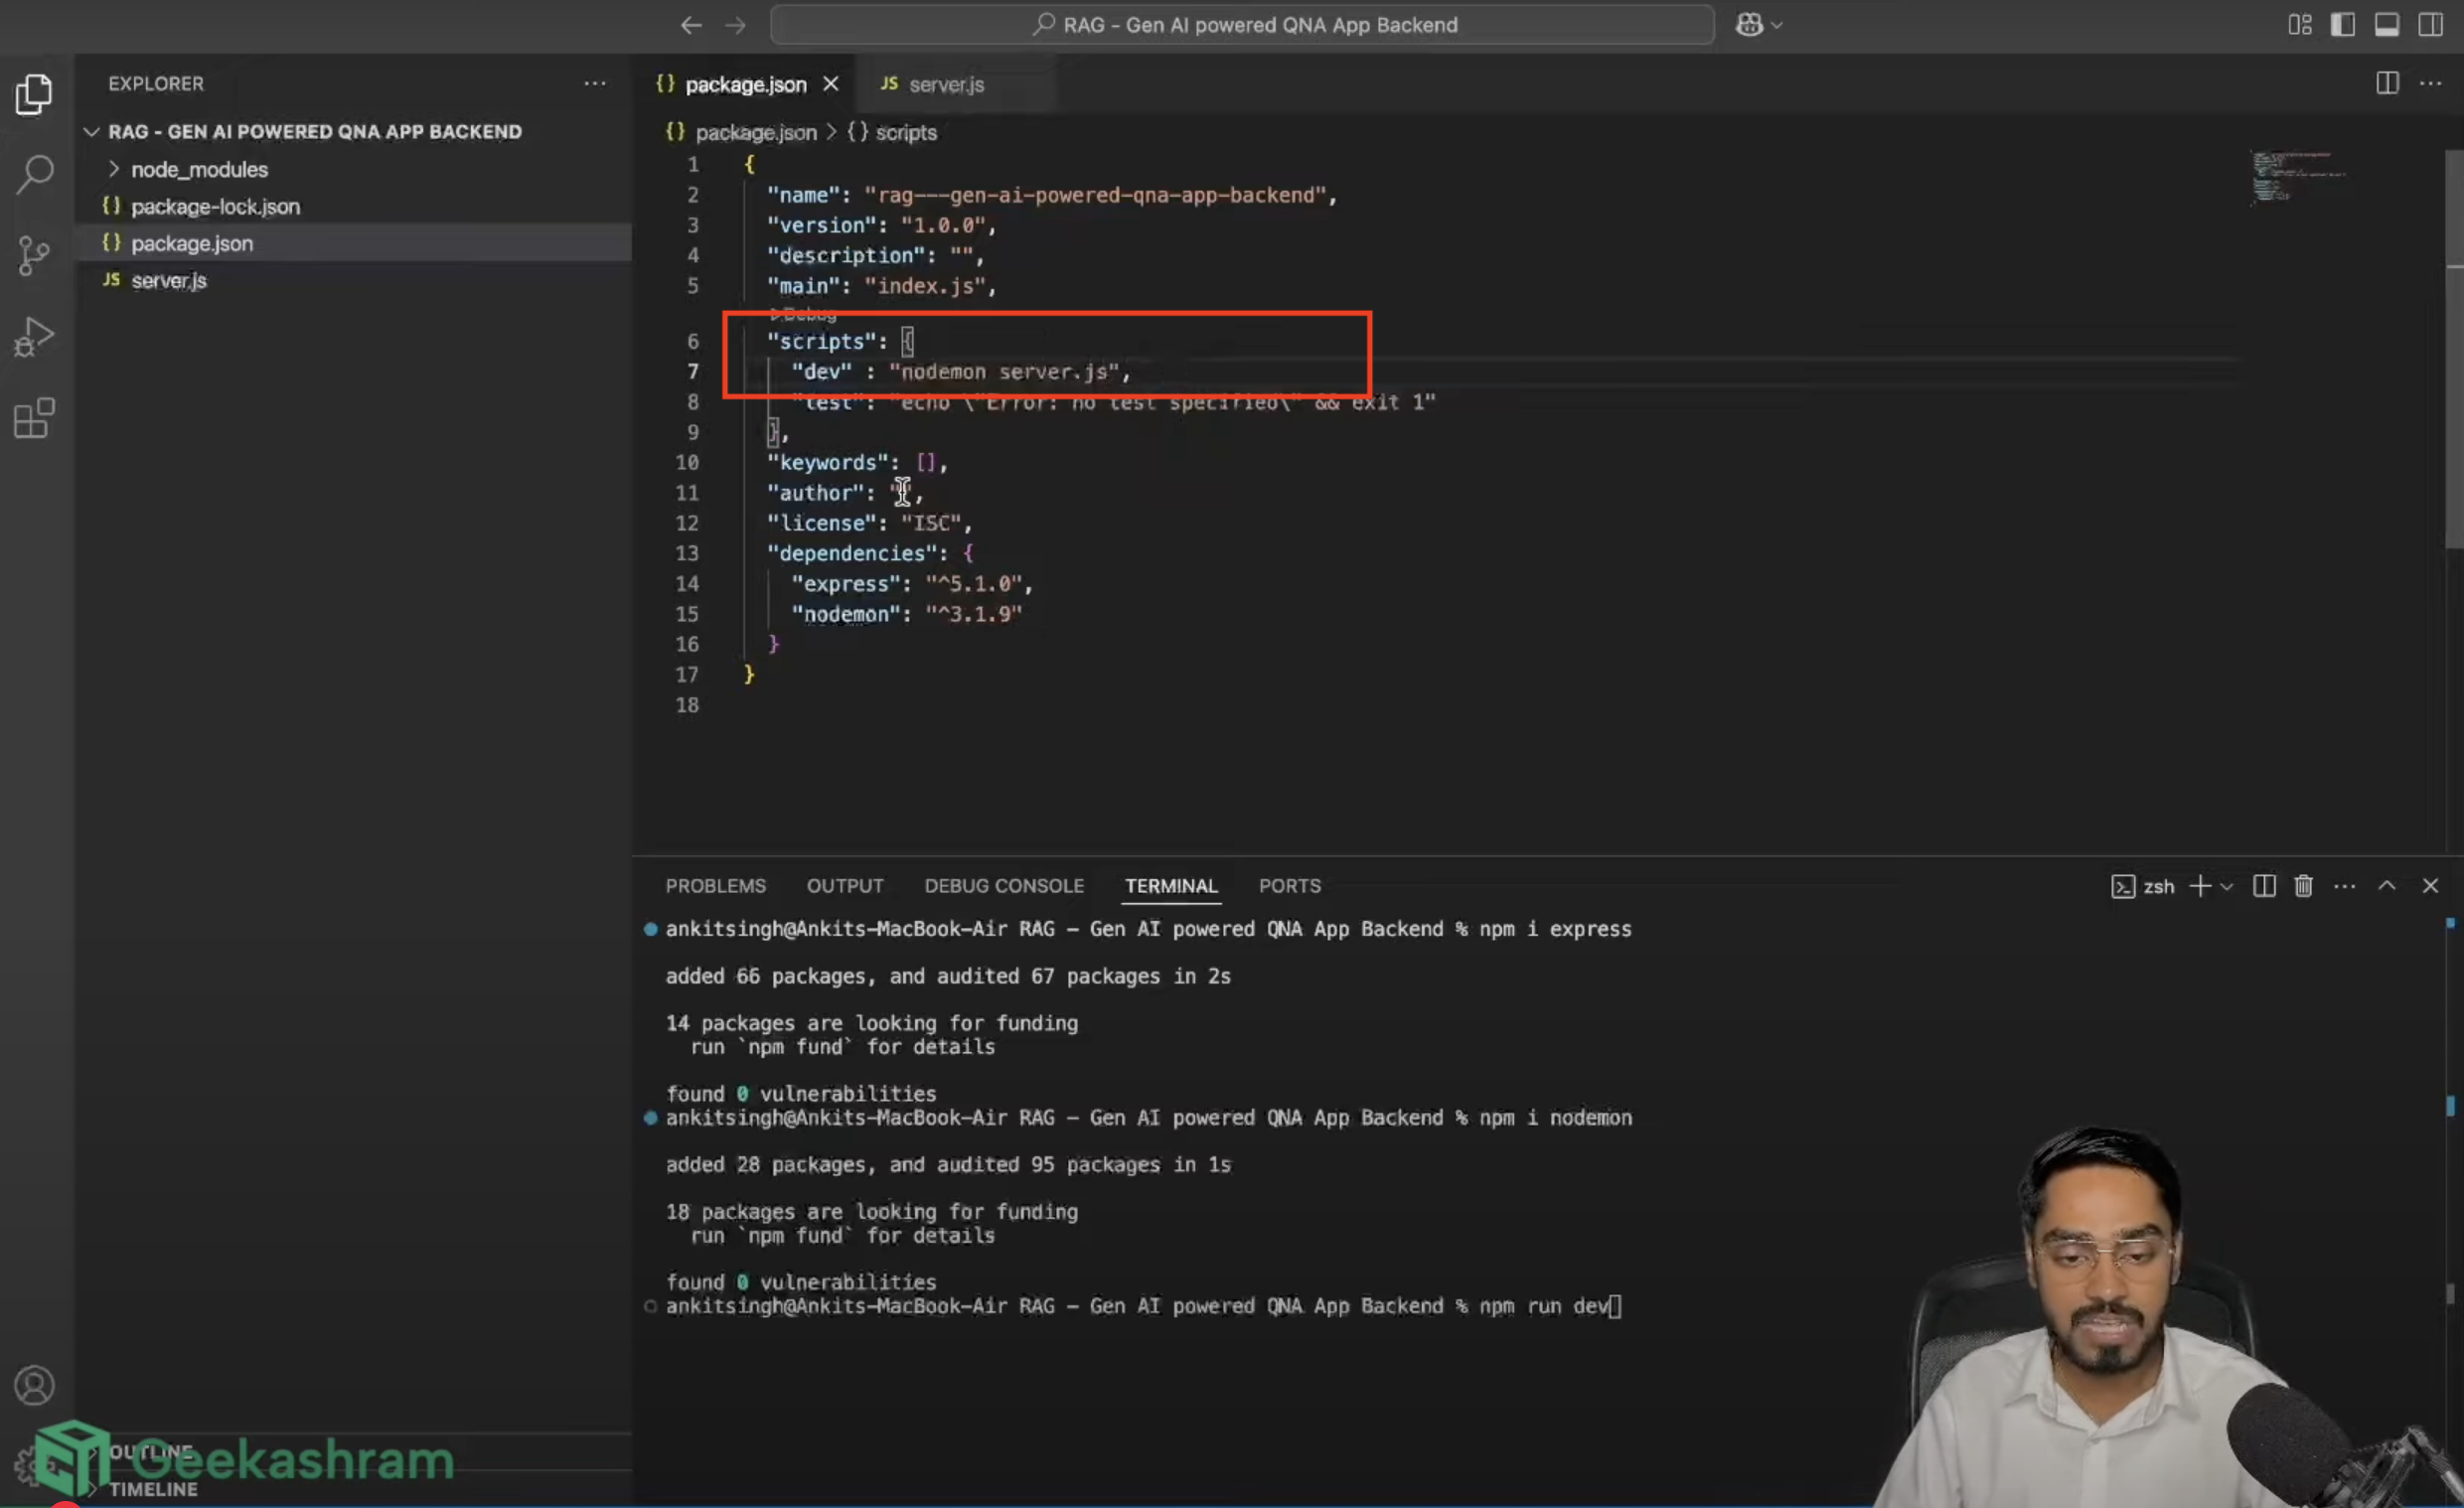
2. Install Required Libraries & Packages
npm install express
npm install nodemon
Express: A lightweight web framework for Node.js that helps us build servers quickly.
Nodemon: A handy tool that automatically restarts the server when you make changes to the code.
3. Create Your Entry File
Now, create a file called server.js. This will be the heart of your backend server.
Here’s a quick starter example for your server.js:
// Import express
const express = require('express');

// Initialize express server
const httpServer =  express();

// Define the port number
const PORT = 4000;

// Define a route to confirm the server is working
httpServer.get('/', (req, res) => {
    res.send('Server is running and ready for indexing!');
});

// Start listening on the specified port
httpServer.listen(PORT, () => {
    console.log(`HTTP Server is on : ${PORT}`);
});
3. Add script to package.json
To run your application using Nodemon, follow these steps:
Open your
package.jsonfile.Inside the
"scripts"section, add a new key like this:
"scripts": {
  "dev": "nodemon server.js"
}
Here, "dev" is a custom script name that will act as a shortcut for running nodemon server.js.
3. Now, instead of manually typing nodemon server.js each time, you can simply run npm run dev
After this we work on data indexing part